The skirt may take some explanation, so I'll cover that here.
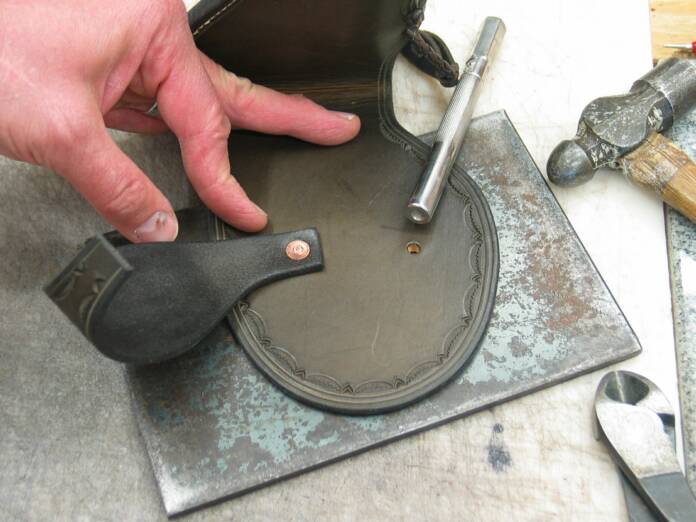
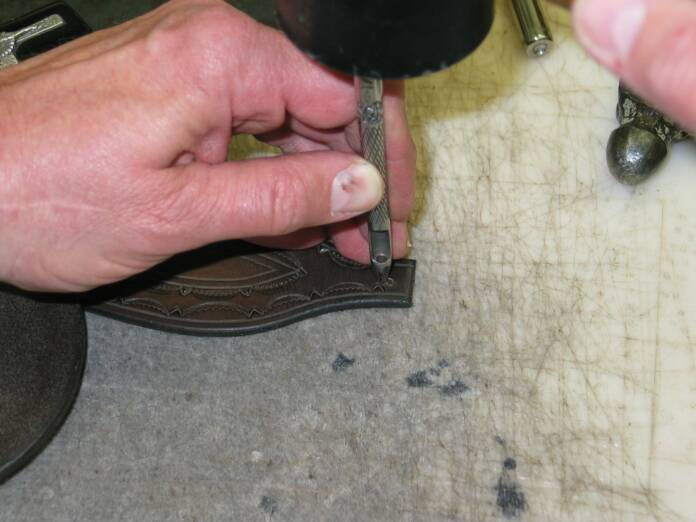
If you will look closely, you will see there isn't a hole punched on the loose end of the loop. It is marked from the pattern, but not punched. Because leather thickness varies, I don't punch that end till the other is riveted down.
I've got the loop around the holster as tight as I can get it, and I'm markin' it through the hole in the skirt.
As it turned out, it was pretty close to the originally marked hole.
If you look real close, you can see where the mark I made through the skirt is. However, I am punching my hole where the original hole on the patter is. Experience has taught me that even if a loop is a little too tight, the holster can be forced through. However, if it is loose there 'aint nuthin' you can do about it but start over.
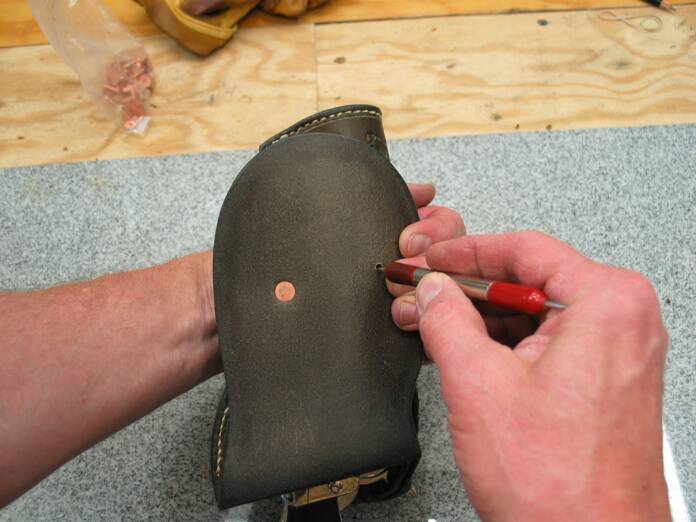
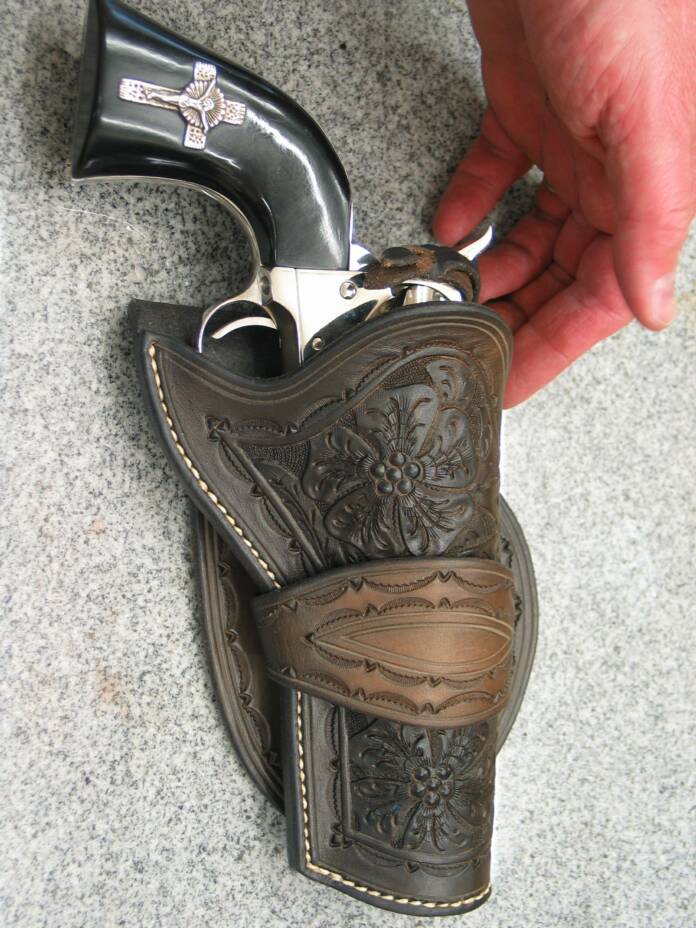
Here's the finished holster. As you can see, the holster went through the loop just fine and fits snug.
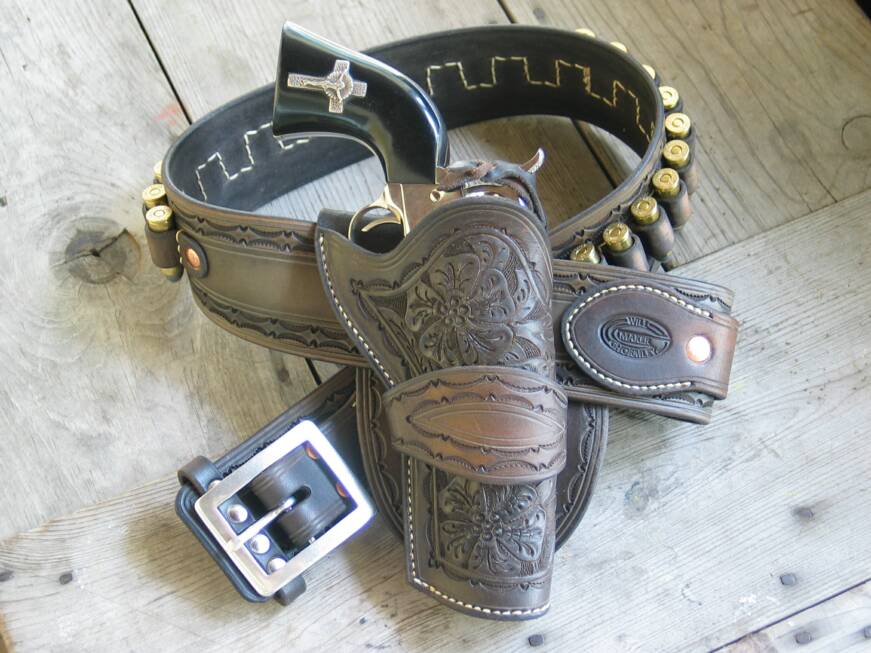
On Crowe's rig I took a brown colored pencil and "dirtied" the stitching so it wasn't so white.
These grips were made for me by
Don Holman of Western and Wildlife Wonders. Don uses my "Hand of God" cricifixes as the foundation for his inlays. The ones in these grips are silver.
To check out Don's website, click here:
On the "Hand of God" pattern, I lay out the stitchin' holes for .45 cal. loops. I don't include any other loops, since this pattern is all about makin' a rig as close to possible to the one in the movie.
However, other loops can be adapted from other patterns.
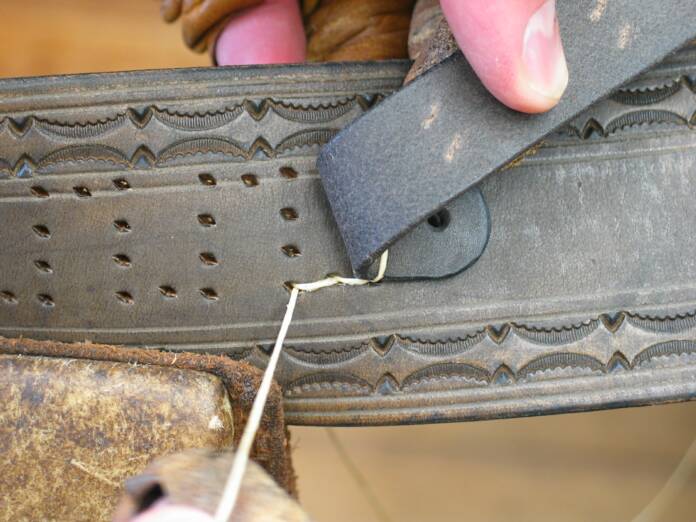
Anyway, here you see I started my stitchin' in the second hole, and went back up through the first. This way, there is two strings carrying the heavy load of the first stitch over the loop.
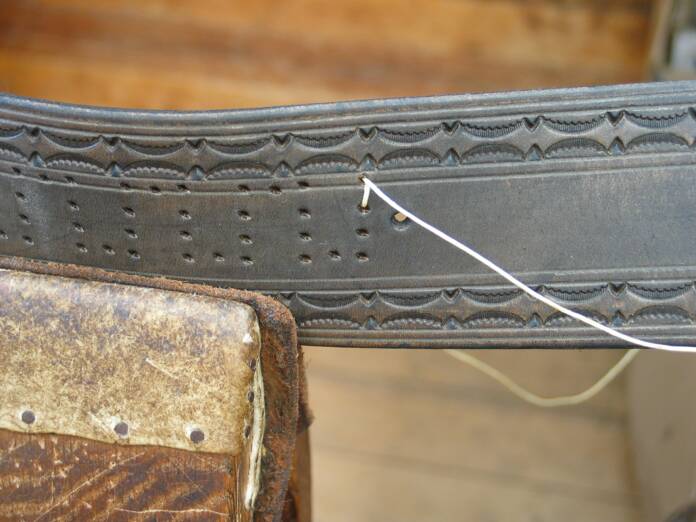
Hand stitchin' with two needles on each end of the 7-strand linen thread (hand waxed with organic bee's wax), both strings pass through the first hole in the loop. One string is on the back of the belt, the other comin' out the front of the loop.
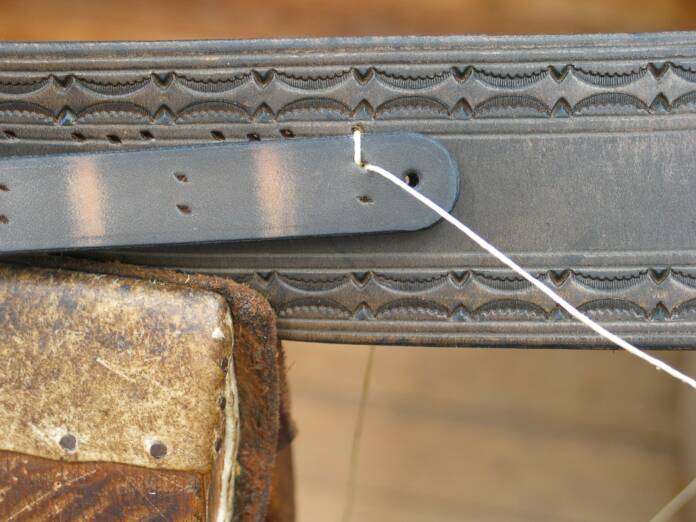
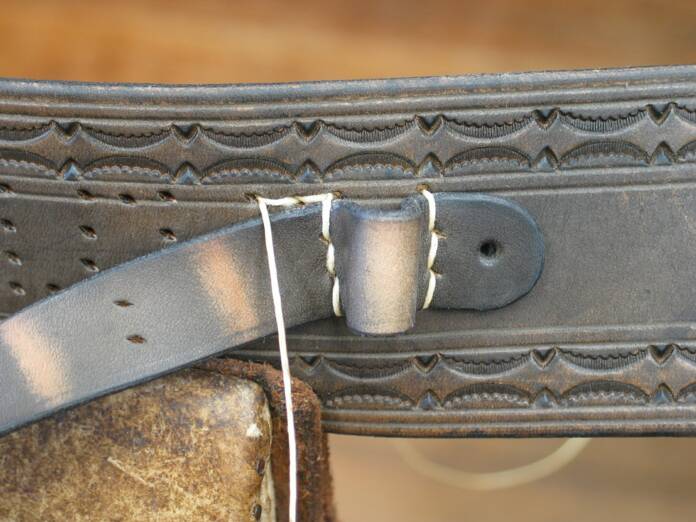
Stitch down the pre-spaced holes and the first edge of the first loop is sewn down. Now, stitch across the bottom of the loop as shown, and you are ready to stitch up the other side and make the first loop.
Stitch up the second side of the loop and it's done. Then, stitch across the top to start the next loop. Keep that up till you get to the other end.
Number 12 copper rivets finish off the ends of the loops. I used a domer on 'em to make 'em look real nice.
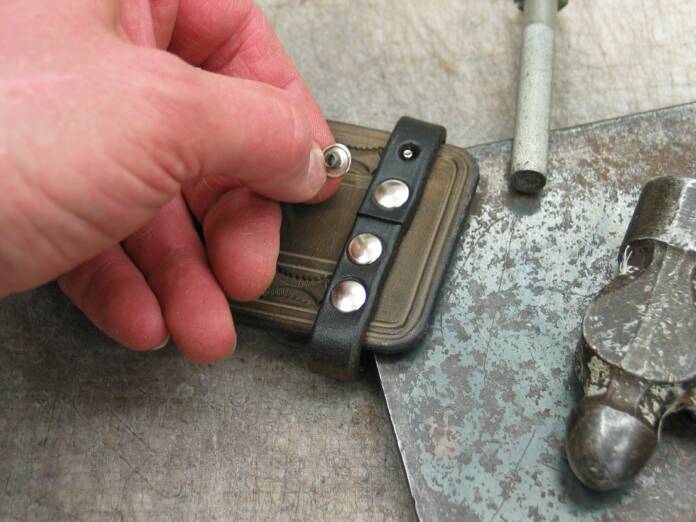
I used nickeled double-cap rivets to attach the keeper. Here, you see I've already riveted down one side.
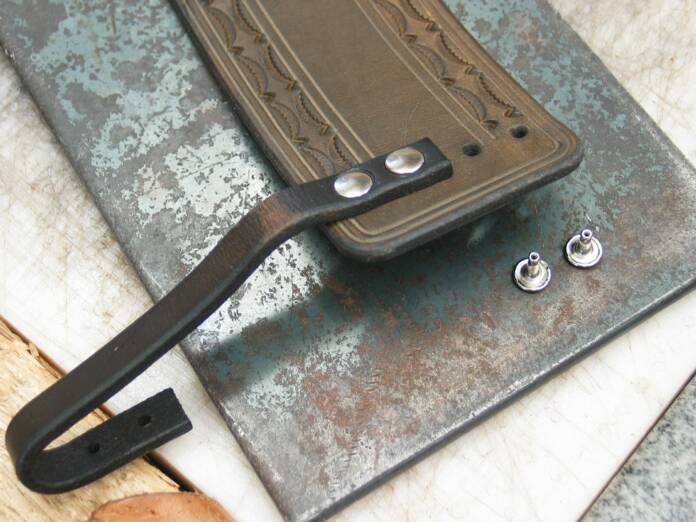
To rivet down the other side, I place my iron plate between the belt and the keeper. This way I can securely hammer the caps on without marring the keeper.
With this rig for Russell Crowe, I laid-out the cartridge loops a little looser than with my ordinary cartridge belts. With a belt that is goin' to be used, it should have tighter loops to make sure you don't loose ammo you will need. With Crowe's rig, I wanted loose loops that would be quicker to reload on film.