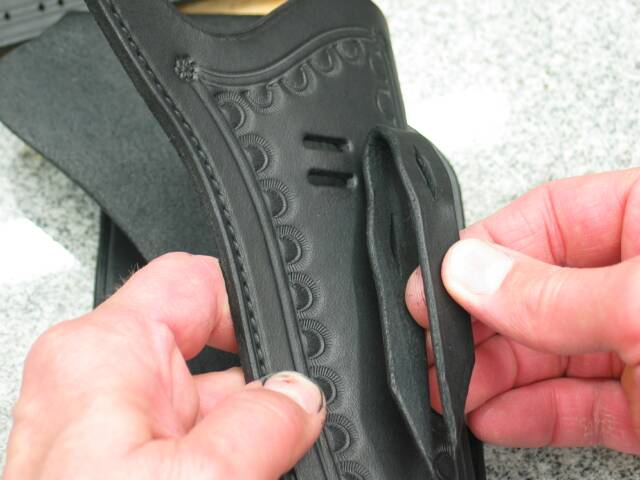
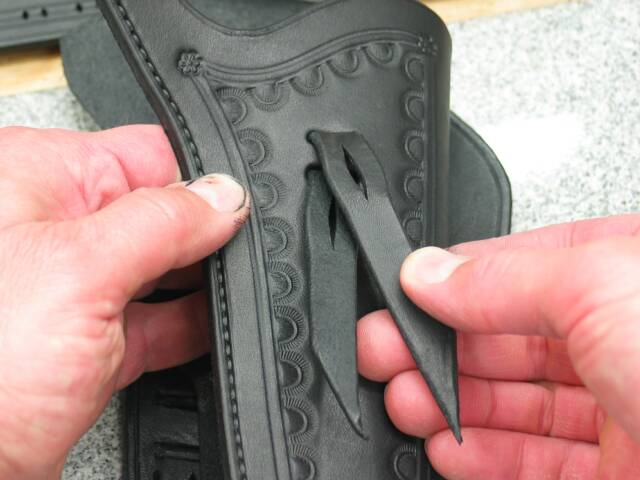
For the pattern, I've laid out everything, including the slots in the tie-down lace for the holster concho. In this photo, I show how the lace is to hang in the slots in the holster.
It is easier to run the lace through the slots before you stitch the holster up.
Notice the slots in the lace are not in the same spots. The end of the lace with the slot closer to the fold in the lace is the end of the lace that should be coming out of the top slot in the holster.
That sounds confusing! Just look at the photo.
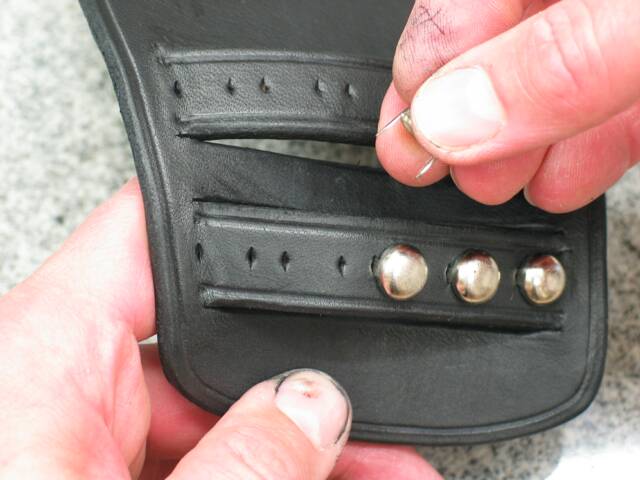
After the holster is stitched up, it's time to put the 7/16" spots in.
I use my stitching awl to punch holes for my spots. With the holes pre-punched, you just have to fit the spots in there.
The older my joints get and my eyesight dims, the more I like those big spots!
I use very narrow needle-nose pliers to curl over the prongs on the back. You may not be able to tell from the photo, but I curl them to the inside of each spot.
By curlin' the prongs, I imbed the end of the prongs back into the leather. This make it less likely the prongs are goin' to catch on somethin', scratch things up, or get themselves yanked out.
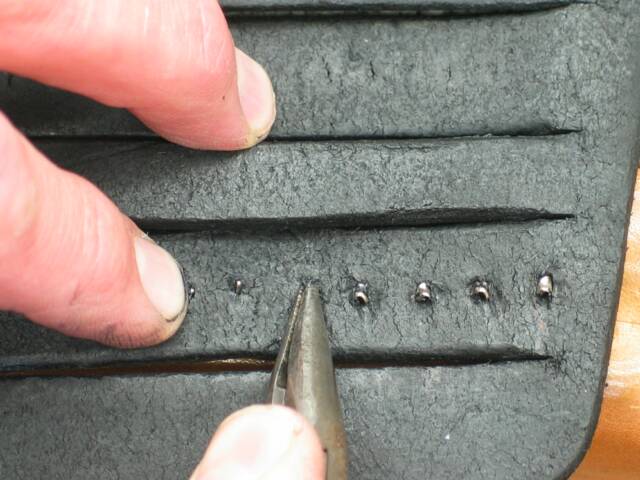
After I get 'em all curled, I go back and squeeze each set together. This pre-sets the angle on the prongs for my next step.
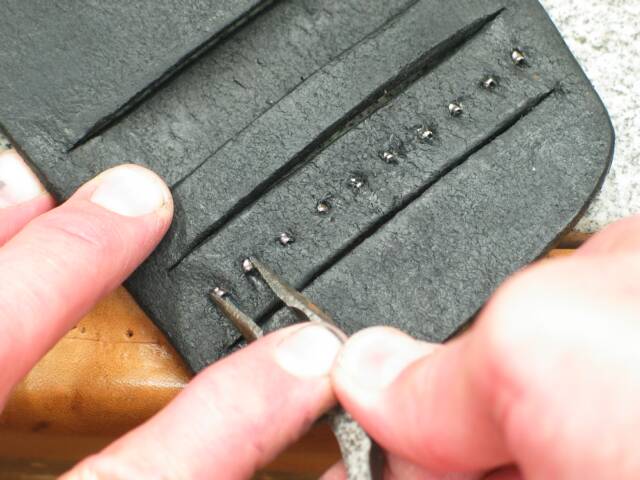
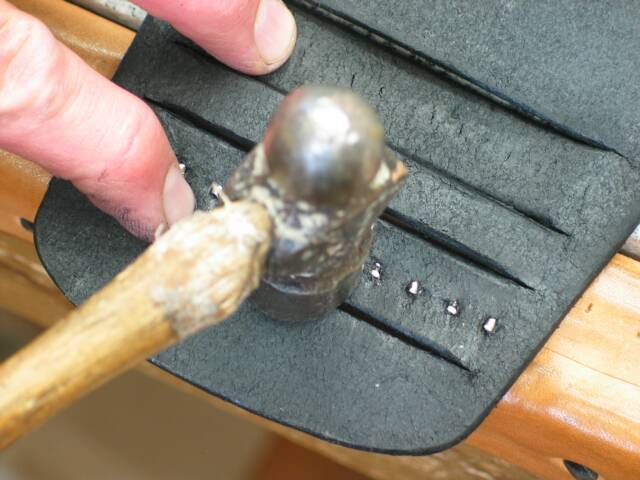
Next, I gently tap-down each set of prongs. This flattens out the curl I put in the prongs, embeds them deeper in the leather, and kind'a tucks them inside the dome of the spot so they don't stick out and scratch things up. Especially when the holster pouch is being stuffed through the loops, you don't want those prongs scratchin' up your new holster! Don't tap too hard, or you'll dent the dome of your spot.
Shove the holster through the loops and you are ready to attach the holster concho.
Run the lace through the concho as shown.
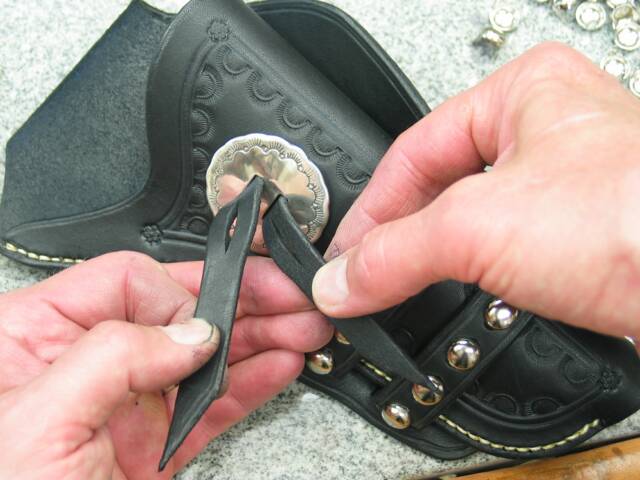
The lace from the bottom slot goes through the lace from the top slot as shown.
Notice how the end of the lace from the top slot lays down on the concho and the bottom lace goes right through it. If your lace doesn't lay down flat like that, you may have it in there the wrong way.
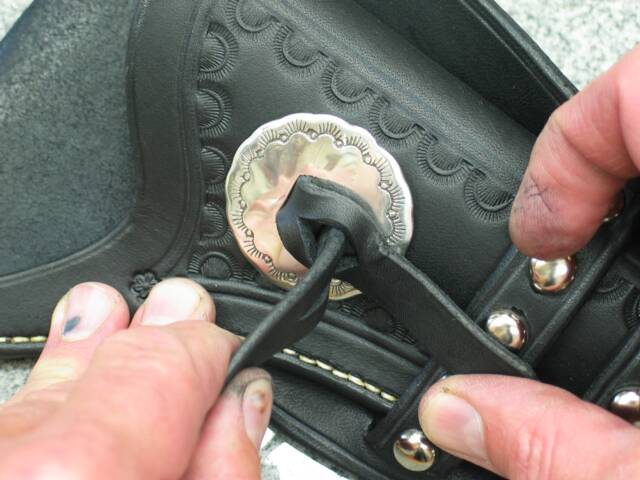
The top lace, (that is now on the bottom), comes back up through the slot in the bottom lace, and ends up lookin' like the photo.
The ends of the lace should be about even. If not, you may have got your lace in backwards. You can trip 'em off even, or take it out and start again.
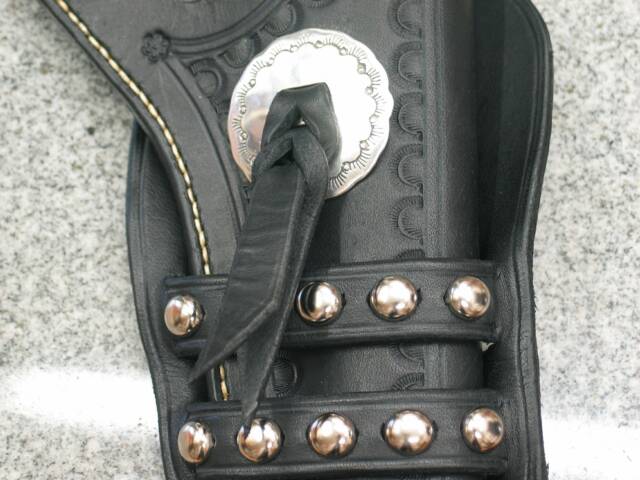
To assemble the belt, I think it is easier to put the 7/16" spots in before I sew the cartridge loops. Install these spots the same way they were installed on the holster.
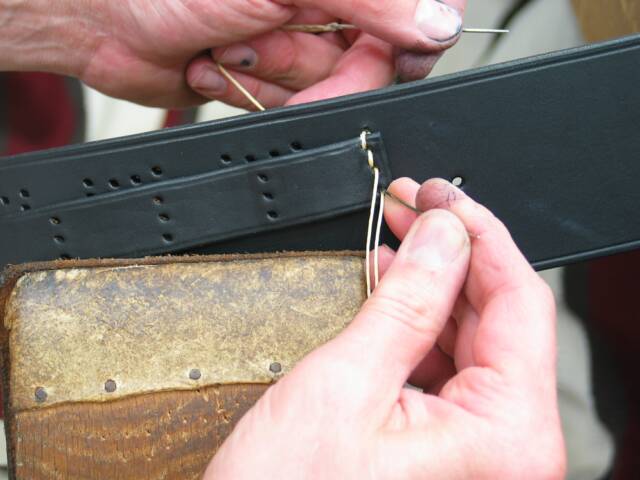
To start sewing up the loops, run the thread through the second hole as shown in the photo.
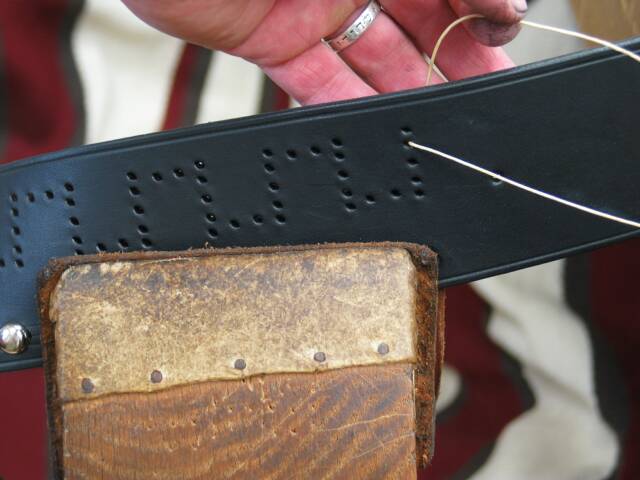
In keeping with the original maker's design, these loops are wider and use heavier leather than what I normally design. I like the way they lay.
Run both ends of your thread through the top hole from opposite sides.
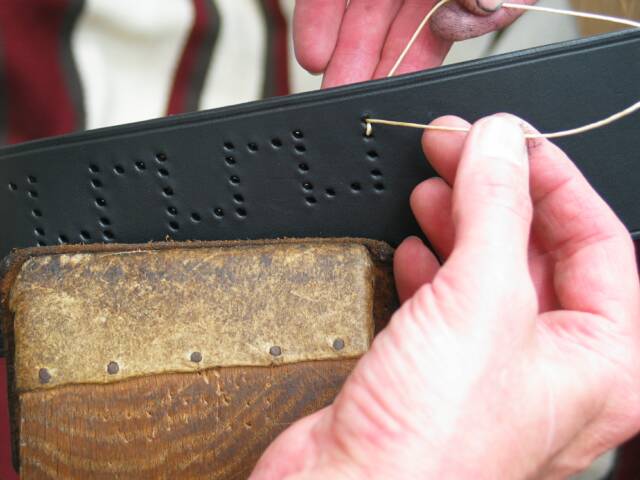
Then, slap your cartridge loop lace up there and just start stitchin' down 'er.
